
Easy Chocolate Peanut Butter Granola Cups

These easy no-bake Chocolate Peanut Butter Granola Cups transform classic peanut butter cups into a nutrient-packed treat featuring layers of creamy peanut butter, crunchy veggie-powered granola, and rich dark chocolate. Ready in just 20 minutes with minimal hands-on time, these vegan and gluten-free cups make the perfect quick dessert, afternoon snack, or homemade gift.
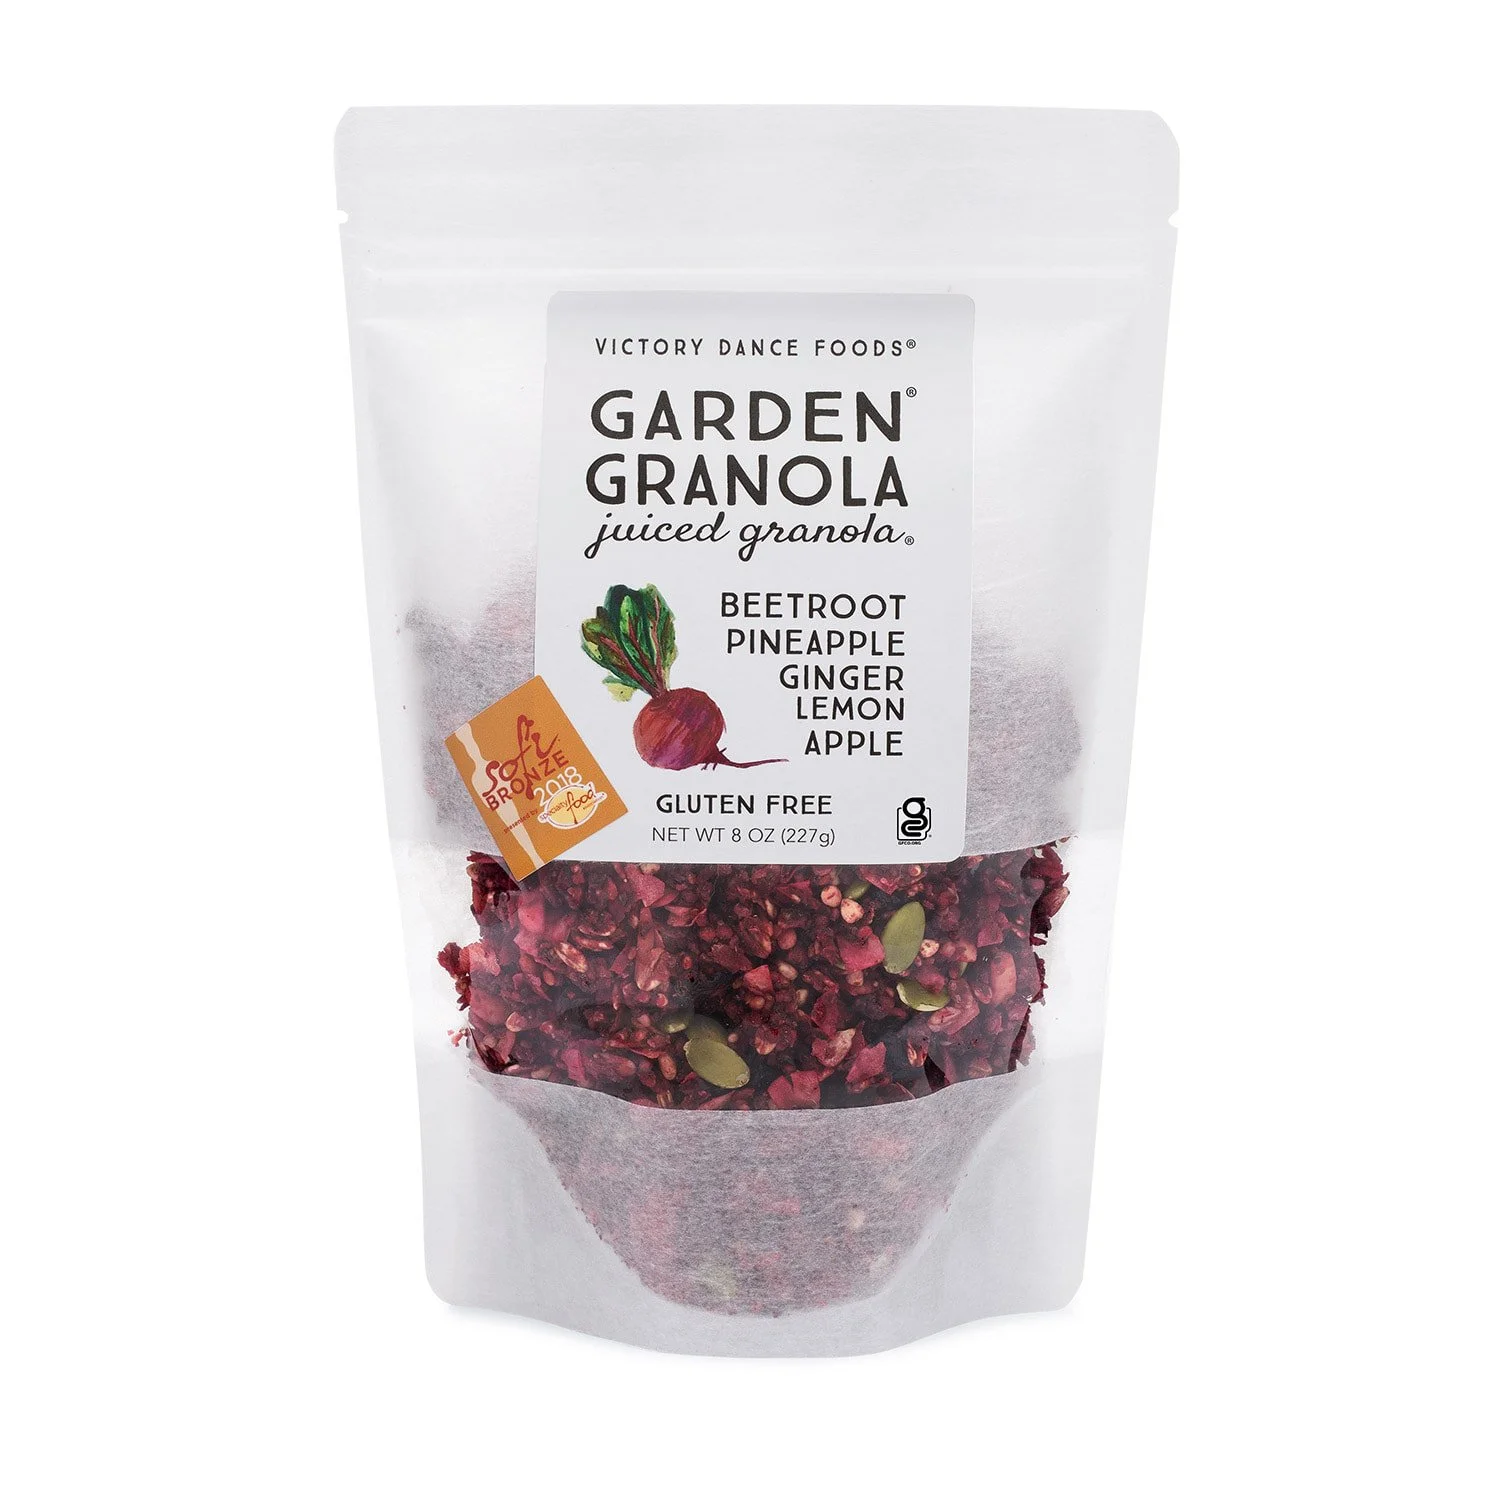
The colorful Garden Granola® toppings—vibrant pink Beetroot Ginger and golden Carrot Turmeric—add both eye-catching appeal and satisfying crunch to every bite. Made with simple pantry ingredients and a silicone mold, these homemade peanut butter cups deliver that perfect combination of sweet, salty, and crunchy textures.
Recipe at a glance
- Gluten-Free
- Vegan
- No-Bake
- Quick Dessert
- Prep Time
- 10 minutes
- Chill Time
- 10 hours
- Total Time
- Servings
- 12 cups
Why You’ll Love This Recipe
These no-bake chocolate peanut butter cups come together in just 20 minutes—no oven, no fuss. Perfect for busy schedules or warm weather when you don't want to turn on the oven.
Garden Granola® adds colorful crunch and makes these cups stand out from ordinary peanut butter cups.
Customize them however you like—adjust the peanut butter layer, mix granola flavors, or try different chocolates. The silicone molds make everything easy.

Ingredients
Creamy peanut butter (amount varies by mold size)
⅔ to 1 cup Garden Granola® Beetroot Ginger
⅔ to 1 cup Garden Granola® Carrot Turmeric
1 cup Hu Kitchen salty dark chocolate (or your favorite vegan dark chocolate)
1 tablespoon coconut oil
Equipment Needed
Silicone peanut butter cup molds (recommended: 3-pack silicone mini tart pans from Amazon)
Microwave-safe bowl
Spoon or small spatula
Instructions
Prepare the peanut butter: Stir the peanut butter thoroughly to achieve a smooth, pourable consistency. If it's too thick, warm it in the microwave for 10-15 seconds and stir again.
Create the peanut butter layer: Pour a thin layer of peanut butter into each cavity of your silicone mold, filling approximately one-quarter to one-third of the depth.
Add the granola layer: Sprinkle Garden Granola® over the peanut butter layer in each cup. You can use one variety per cup or mix both flavors for varied appearances.
Prepare the chocolate: Combine the chocolate and coconut oil in a microwave-safe bowl.
Begin melting: Microwave on high for 30 seconds, then remove and stir thoroughly.
Continue melting in intervals: Microwave in 15-20 second bursts, stirring well after each interval. Total melting time is typically 60-90 seconds, depending on your microwave power and chocolate type.
Finish melting off heat: Stop microwaving when the chocolate is 80-90% melted. Continue stirring—the residual heat will melt the remaining pieces without risk of scorching.
Pour the chocolate layer: Pour melted chocolate over the granola layer in each mold cavity, filling to the top and ensuring complete coverage.
Add decorative topping: While the chocolate is still wet, sprinkle additional Garden Granola® on top of each cup for visual appeal and extra crunch. Create patterns using different granola colors.
Chill to set: Transfer the filled molds to the refrigerator and chill for at least 10 minutes, or until the chocolate is completely firm to the touch.
Unmold and serve: Gently press the bottom of each silicone cavity to release the cups. If they resist, chill for another 5 minutes
Tips for Success
Chocolate Melting Tips
The key to smooth, glossy chocolate is controlled melting. Always use short microwave intervals and stir thoroughly between each burst. The coconut oil helps create a thinner consistency that's easier to pour and gives the finished cups a slight snap when bitten.
If your chocolate seems too thick after melting, add an additional ½ tablespoon of coconut oil and stir until smooth. If it becomes grainy or seizes, it was likely overheated—start with fresh chocolate and use shorter intervals.
Mold Selection and Release
Silicone molds work best for this recipe because they flex for easy release without damaging the delicate chocolate shells. The recommended peanut butter cup molds create perfectly portioned treats, but mini muffin silicone pans work equally well for larger portions.
For easiest release, ensure the chocolate is completely firm before unmolding. If cups stick, place the entire mold in the freezer for 5 minutes—the slight contraction makes release effortless.
Customization Ideas
Create variety by using different nut butters—almond, cashew, or sunflower seed butter all work beautifully. For added indulgence, stir a pinch of flaky sea salt into the peanut butter layer before adding the granola.
Try creating "half-and-half" cups by dividing the top decoration between Beetroot Ginger and Carrot Turmeric granolas for a colorful presentation. You can also add a thin layer of raspberry jam between the peanut butter and granola for a PB&J variation.
Storage and Serving
Store chocolate peanut butter granola cups in an airtight container in the refrigerator for up to 2 weeks. Layer cups between sheets of parchment paper to prevent sticking. For longer storage, freeze cups in a freezer-safe container for up to 3 months—they can be enjoyed straight from the freezer for a firmer texture.
These cups are perfect for meal prep—make a batch on Sunday for grab-and-go snacks throughout the week. They're ideal for lunch boxes, afternoon energy boosts, or after-dinner treats. Serve them slightly chilled for the best texture contrast between the smooth chocolate and crunchy granola.
For gifting, package cups in clear cellophane bags tied with ribbon, or arrange them in small boxes lined with tissue paper. They make thoughtful homemade gifts for holidays, teacher appreciation, or hostess presents.
Shop the Star Ingredients

More Recipes to Try
If you loved these chocolate peanut butter cups, explore these other easy Garden Granola® dessert recipes.
Love Good Food? Get Recipes + 15% Off Your First Order
Subscribe for delicious new recipes, seasonal inspiration, and special offers—starting with 15% off your first Garden Granola®, Granuesli® or Muesli purchase.
Subscribe